

(You Can Only Add a Search Bar to Showit on Blog Templates—Here’s How to Do It Right)
Hey there—I’m Jordin, a Showit web designer who’s been working with creative business owners, wellness providers, and personal brands for years. I help people create websites that not only look stunning, but also work hard for their business behind the scenes.
And one small but mighty feature I always recommend? A search bar on your blog.
Why Add a Search Bar to Your Showit Blog?
Let’s be honest: people don’t want to scroll forever. A search bar gives your readers a simple way to find exactly what they’re looking for—whether it’s a recipe you shared last month, a blog post on client red flags, or your latest wellness tips.
Adding a search bar to your Showit blog:
-
Improves user experience by making content easier to access
-
Encourages deeper browsing, keeping visitors on your site longer
-
Builds engagement by helping people find content they care about
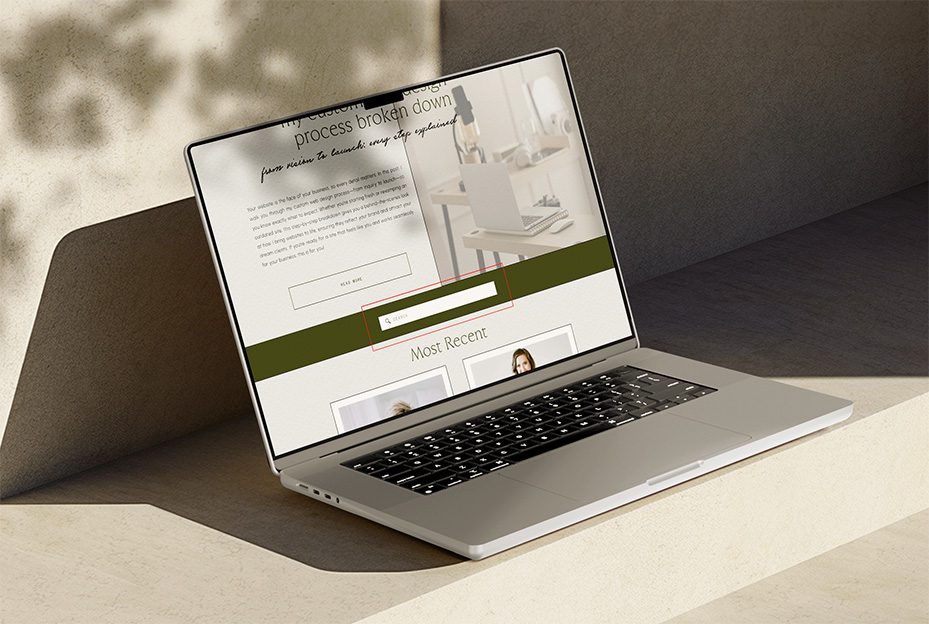
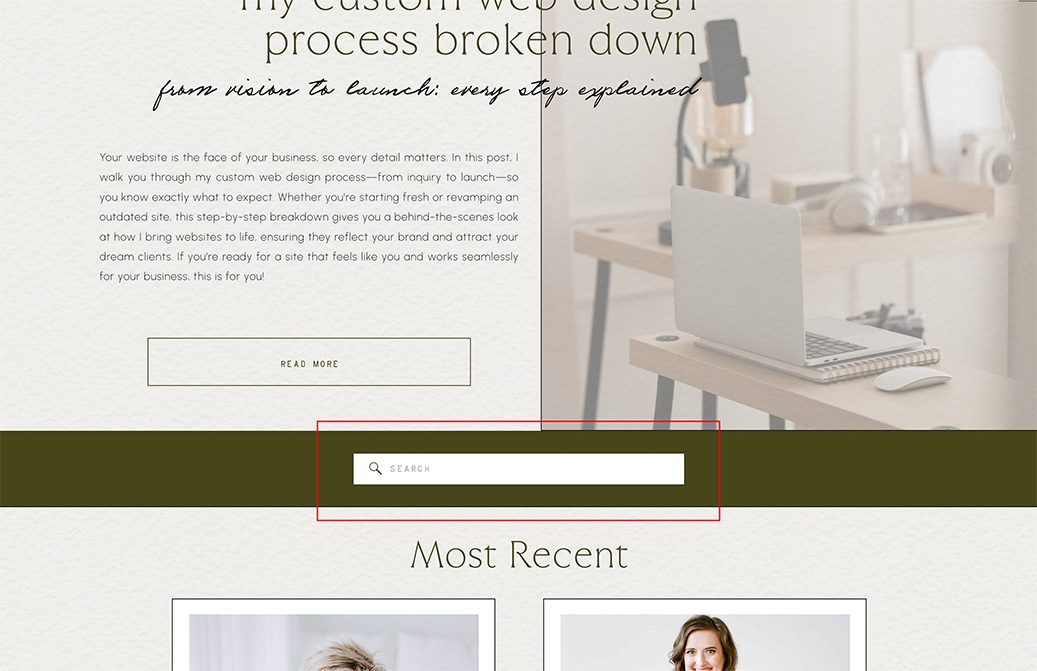
⚠️ Important note: This tutorial only works on Showit blog templates. A search bar like this won’t function on standard Showit pages. It will only search blog posts and blog template pages—so if your site is built mostly on regular pages, this feature won’t apply (unless you’ve built your entire site on blog templates… but that’s a topic for another day).
Let’s walk through exactly how to add a search bar to your Showit blog template:
Step-by-Step: How to Add a Search Bar to Showit
1. Log in and Open the Blog Template You Want To Add the Search Bar to
Head into your Showit account and open the blog template where you want the search bar to live (not a regular site page).
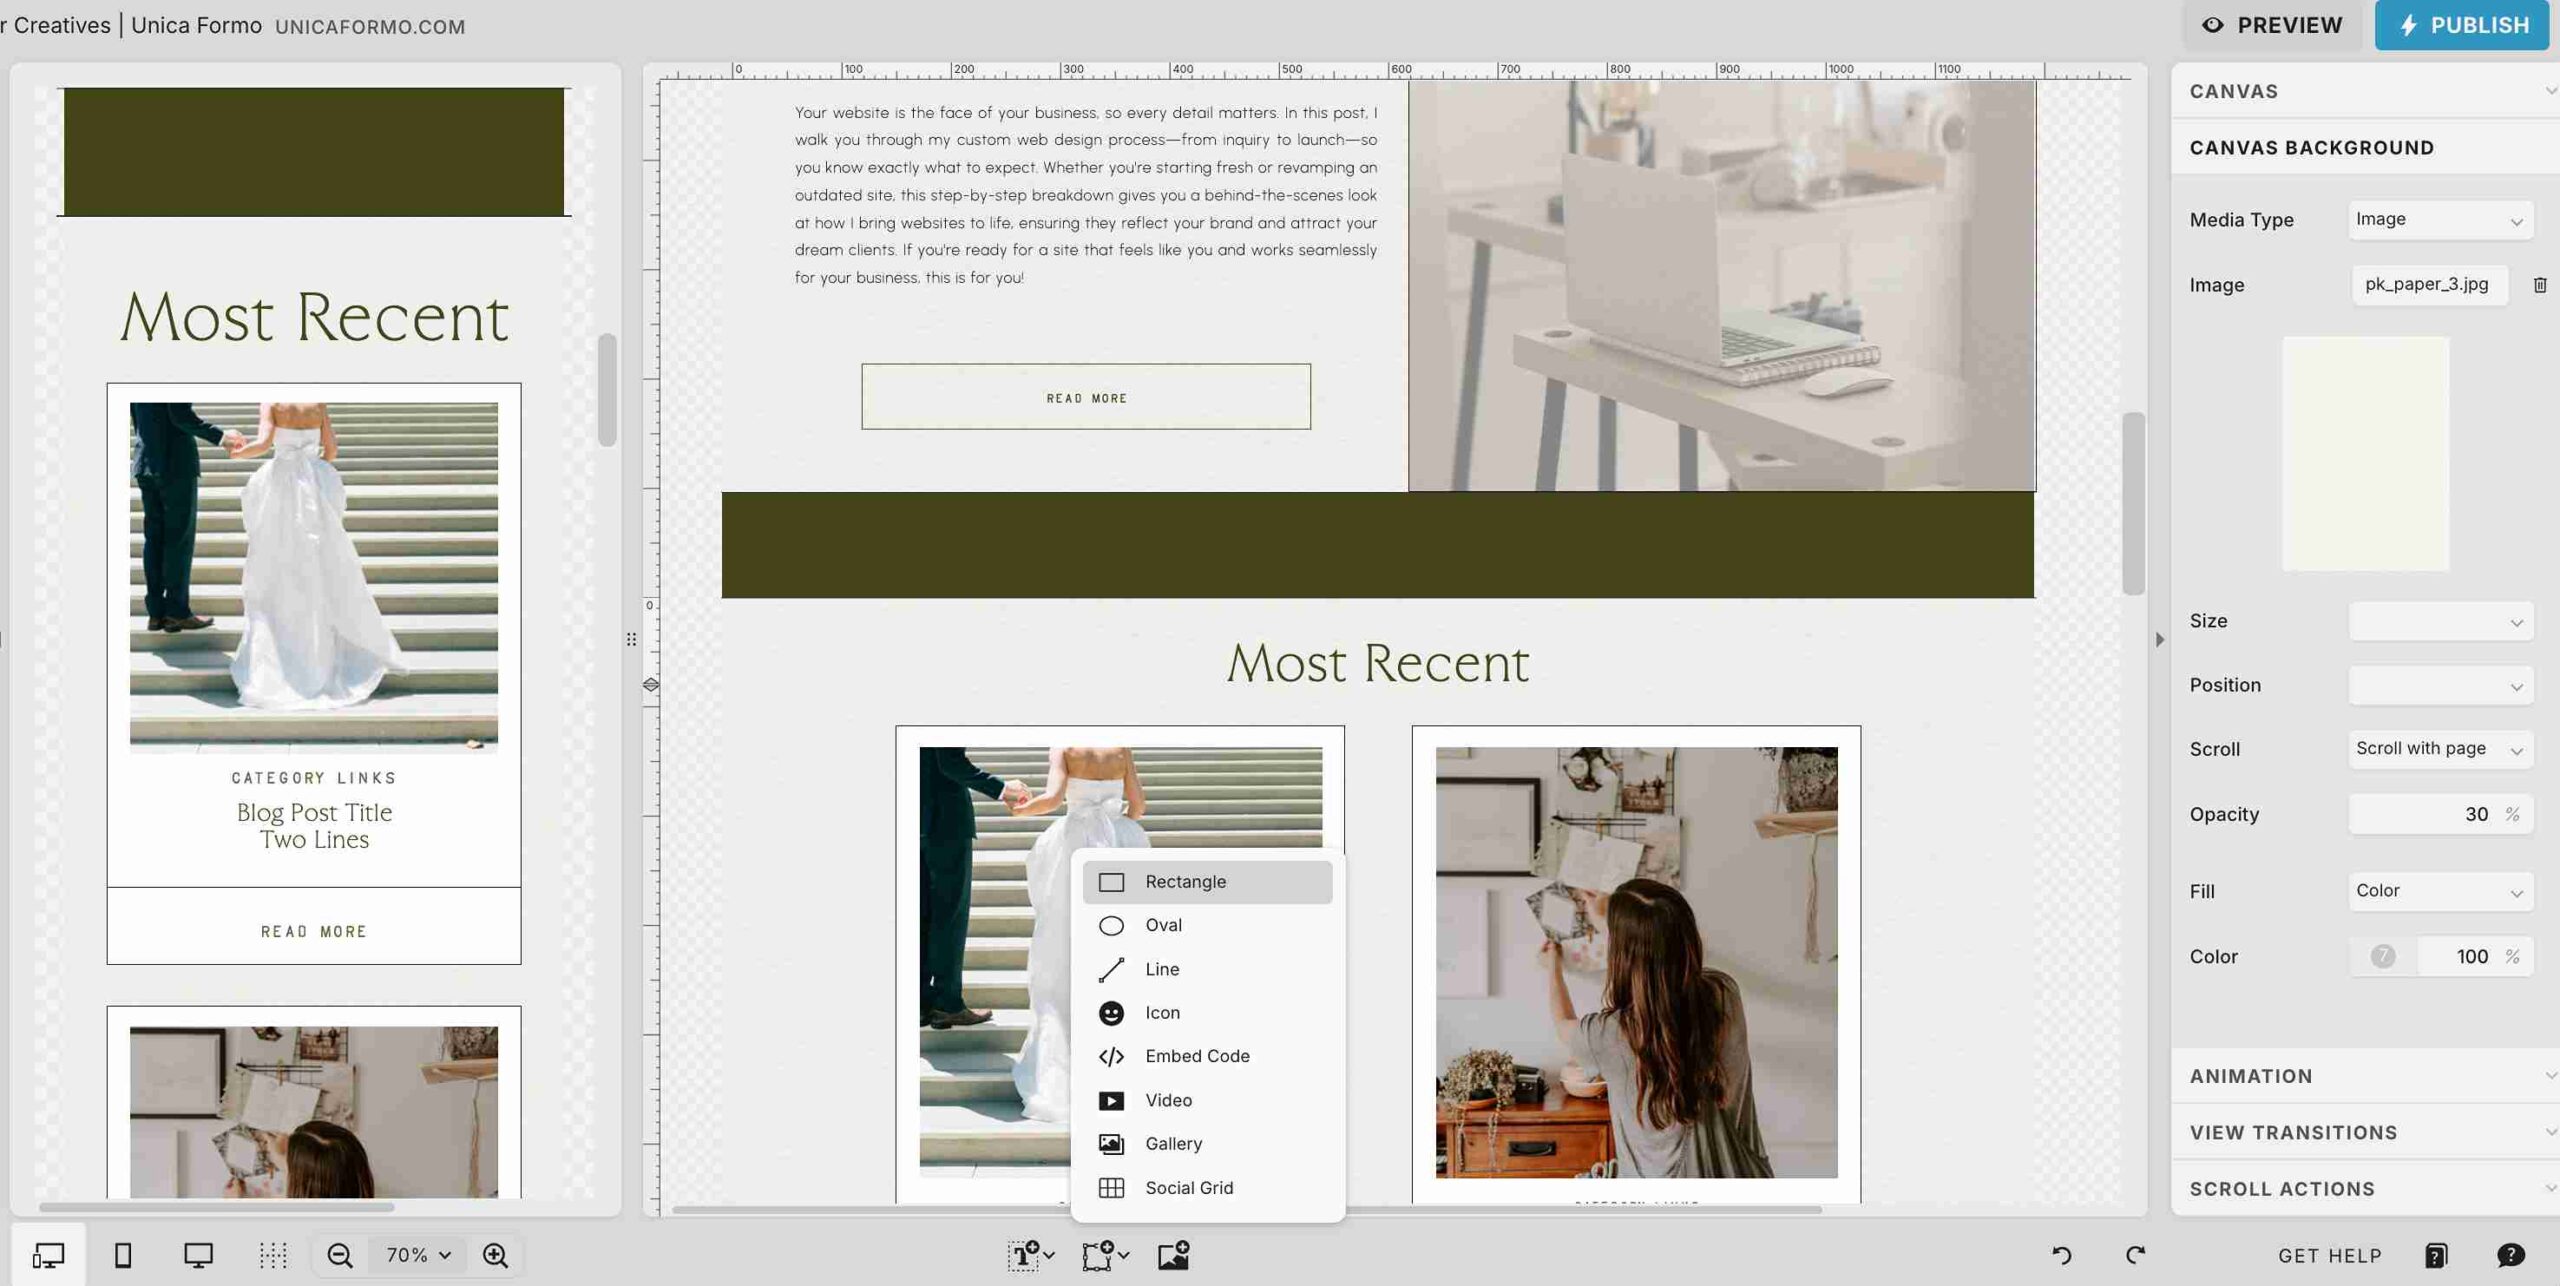
2. Add a Rectangle
In the Showit editor, create a rectangle where you want your search bar to go.
Customize it to match your site—round the edges, adjust the size, pick a color that aligns with your brand.
Important:
Always, always, always check and edit the mobile version of your website as you go. Don’t wait until the end to deal with a pile of elements stacked on top of each other—it’s way less overwhelming to tweak each section piece by piece.

3. Adjust the Size
Make sure the rectangle is wide enough for someone to actually type an actual search query—don’t make the mistake of leaving space for just 3 characters. If it looks too small to use, your visitors won’t bother using it.
4. Add a Paragraph Text Box
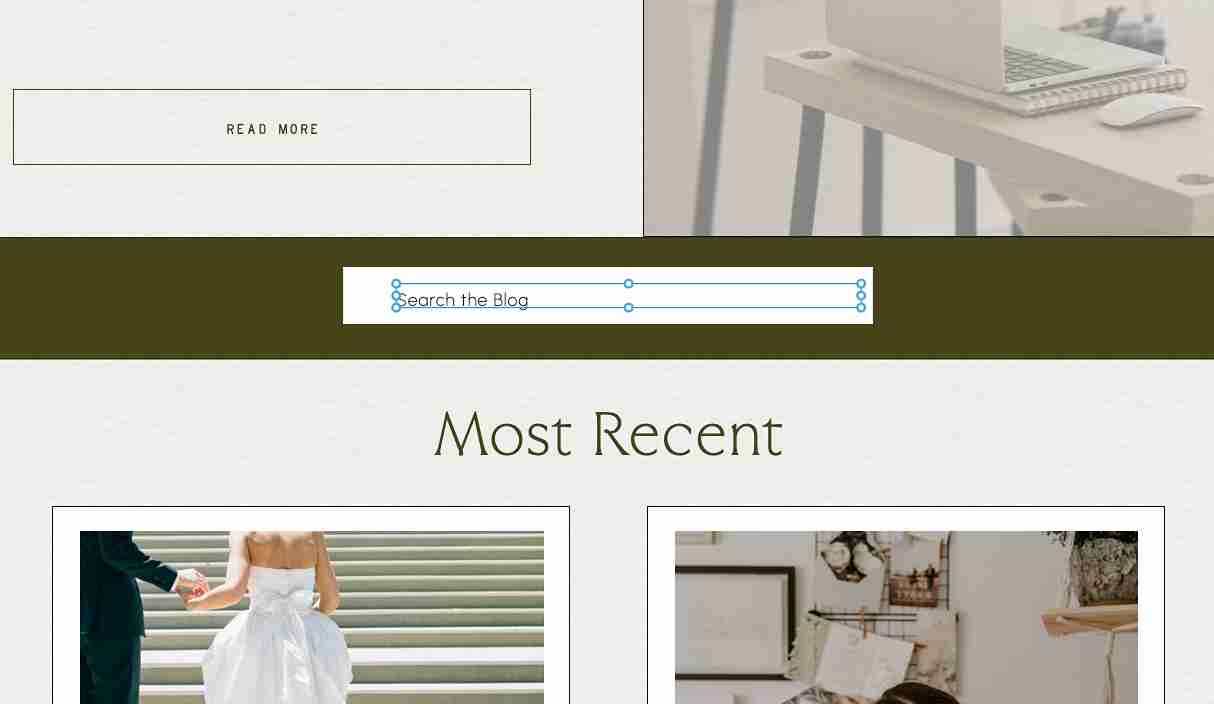
Create a paragraph (p) text box over the rectangle. This will become your actual search field.
I suggest adding some intuitive placeholder text like “Search” or “Search the Blog” so users immediately know what it’s for.
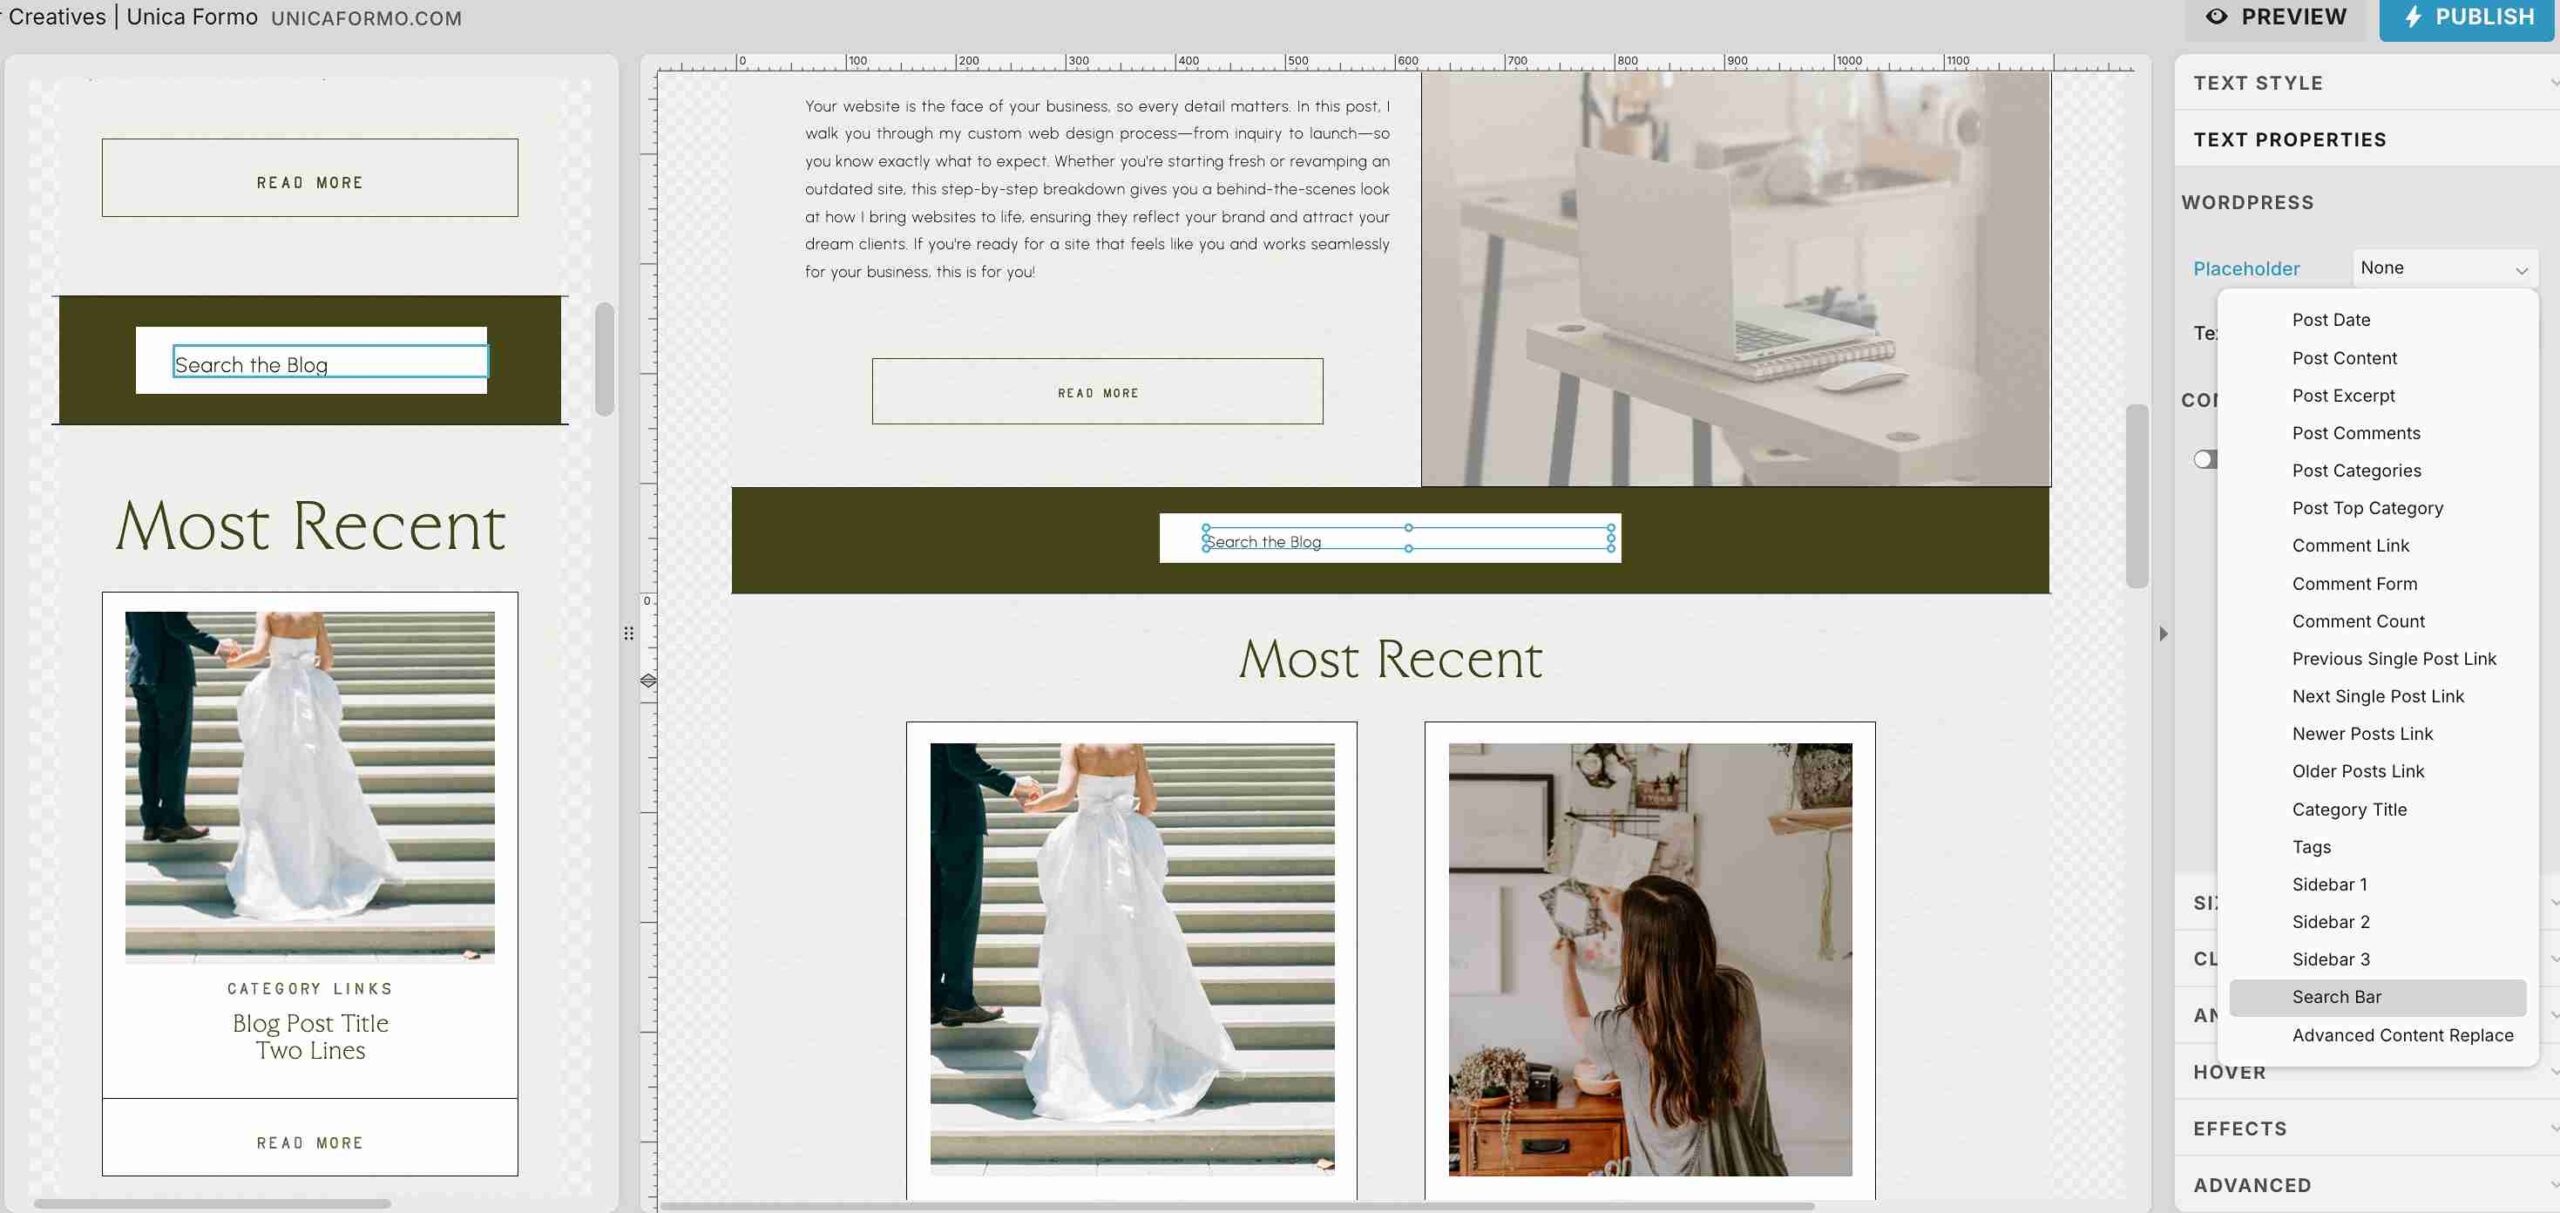
5. Set the Text Properties
Click the text box and look to the right-hand panel.
Find the Text Properties section, and under Placeholder, select “Search Bar.”
This is what turns that text box into a functional search field (don’t skip this part—it’s key!).
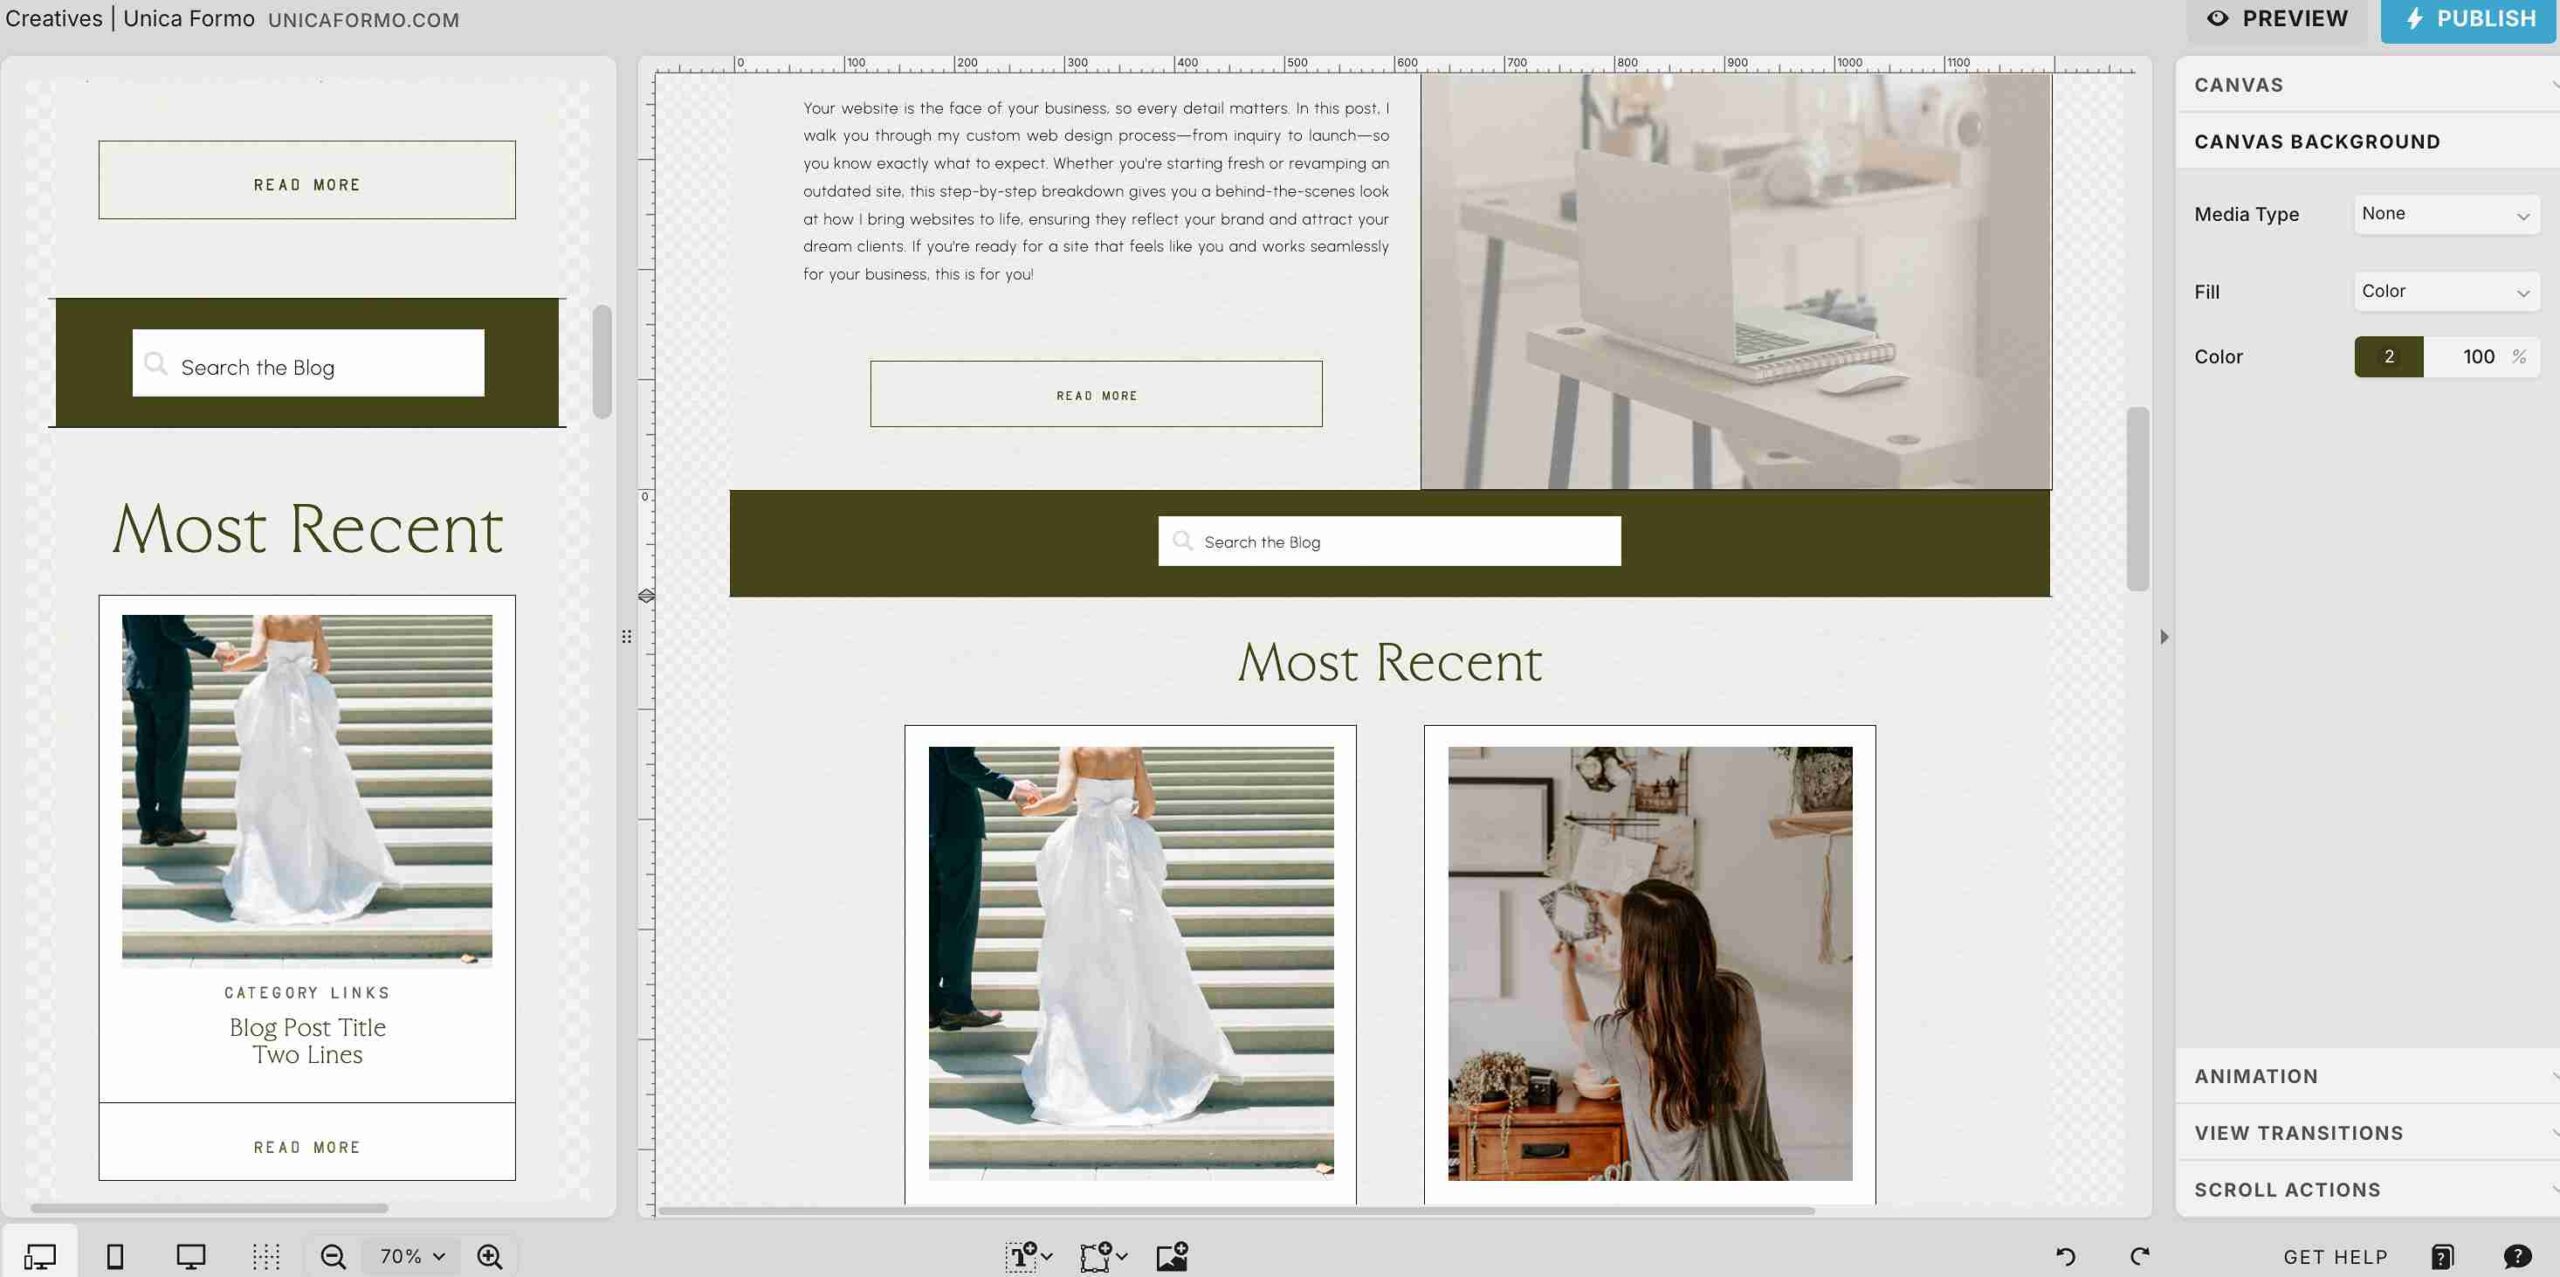
💡 I also like to add a simple search icon next to the bar to make it even clearer—but you totally don’t have to! It’s just a small visual cue that can elevate the design.
![]()
6. Publish and Test
Hit publish, then do a hard refresh of your site.
Test a few searches yourself to make sure it’s working and that the size and spacing feel just right on desktop and mobile.
That’s It!
Pretty simple, right? Now you’ve got a working search bar that helps your visitors stay longer, find more of your content, and actually enjoy using your blog.
Want more tutorials like this?
Stick around for more Showit tips, tricks, and ways to make your website feel as intentional as your business.
Pin for Later:

Jordin Brinn is the founder and lead designer of Unica Formo — a creative studio in Columbus, Ohio, specializing in custom Showit website design and brand strategy for service-based businesses like coaches, consultants, therapists, creatives, and wellness professionals. With over a decade of business experience, she helps clients bring strategy, clarity, and personality to their online presence.
Explore design services and free resources at unicaformo.com.


