


How to Install a Free Heatmap on Your Showit Website
If you want to add a free heatmap to your Showit website, you’re in the right place.
Heatmaps give you a real look at how people are interacting with your site—not just how many people are visiting. You can see where users click, how far they scroll, and what they ignore.
One of my favorite tools for adding a free heatmap to your Showit website (or any platform, really) is Microsoft Clarity. It’s completely free, takes about 5 minutes to install, and gives you insights you won’t get from traditional analytics tools.
In this post, I’ll show you exactly how to add it to your Showit website.
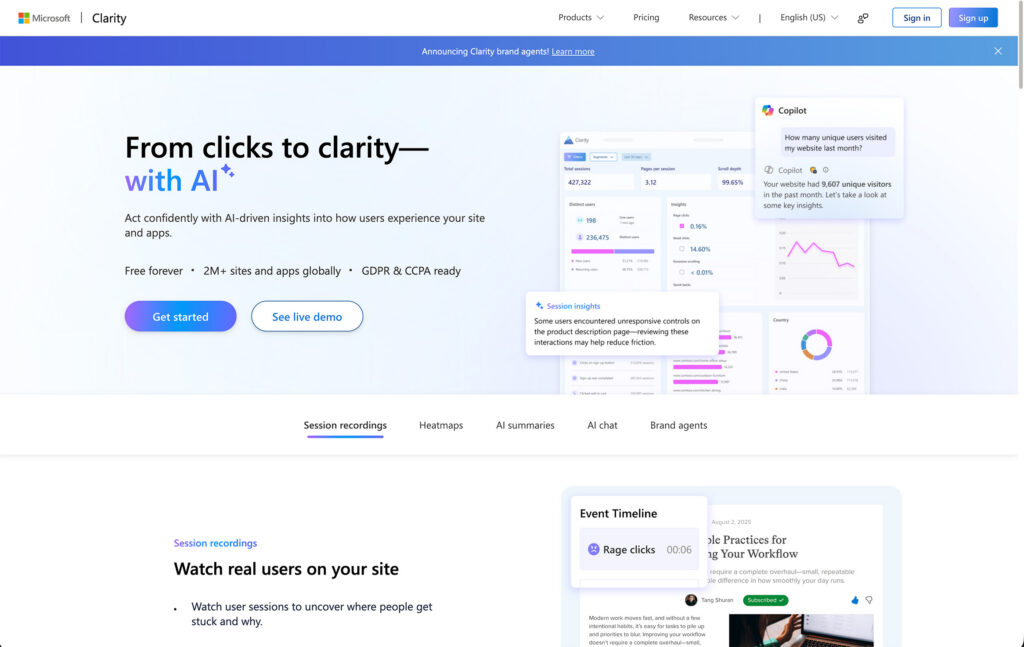
What is Microsoft Clarity?
Microsoft Clarity is a free analytics tool that shows you how people interact with your site in real time.
Instead of just numbers, you get actual behavior data, like:
- Click maps (where users are clicking)
- Scroll maps (how far they’re scrolling)
- Session recordings (real user journeys on your site)
It’s one of the easiest ways to quickly understand what’s working—and what might be causing people to drop off.
Why Use a Heatmap on Your Website?
Adding a heatmap to your site helps you make smarter decisions without overthinking it.
You can quickly see:
- If people are reaching your call-to-action
- What sections are getting the most attention
- Where users lose interest or get stuck
Even reviewing just a few recordings or maps can reveal patterns you’d never catch otherwise.
How to Install Microsoft Clarity on Showit
The setup is simple and only takes a few minutes.
Step 1: Create Your Clarity Account
Go to Microsoft Clarity and sign in with your Microsoft account.
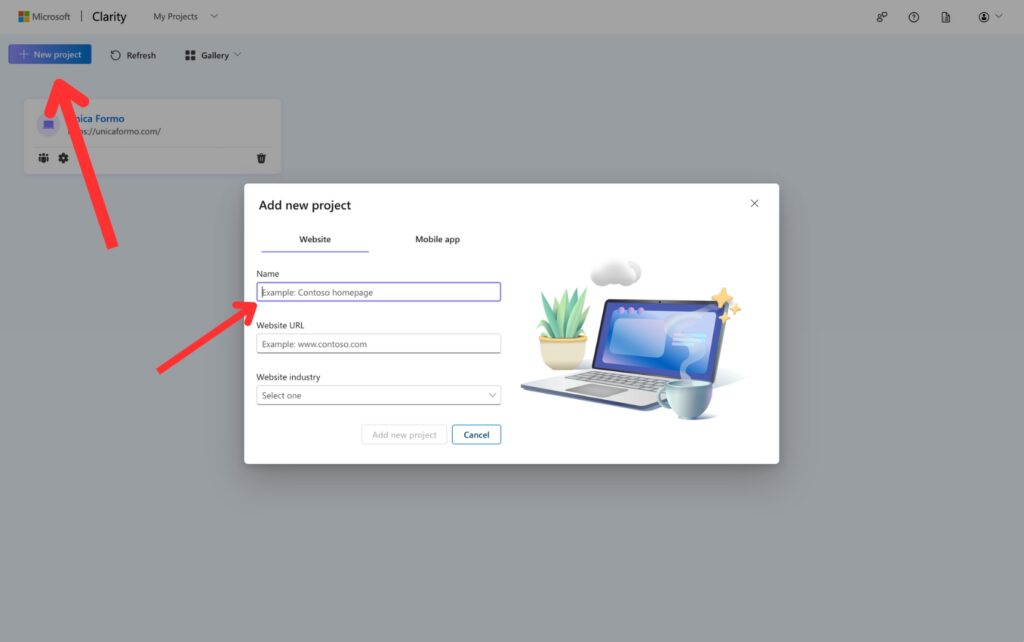
Once you’re in:
- Click “Add new project”
- Enter your website name and URL
- Click Create

Step 2: Copy Your Tracking Code
After creating your project, Clarity will generate a tracking script.
- Click “Get tracking code”
- Copy the full code snippet
Step 3: Add the Code to Showit
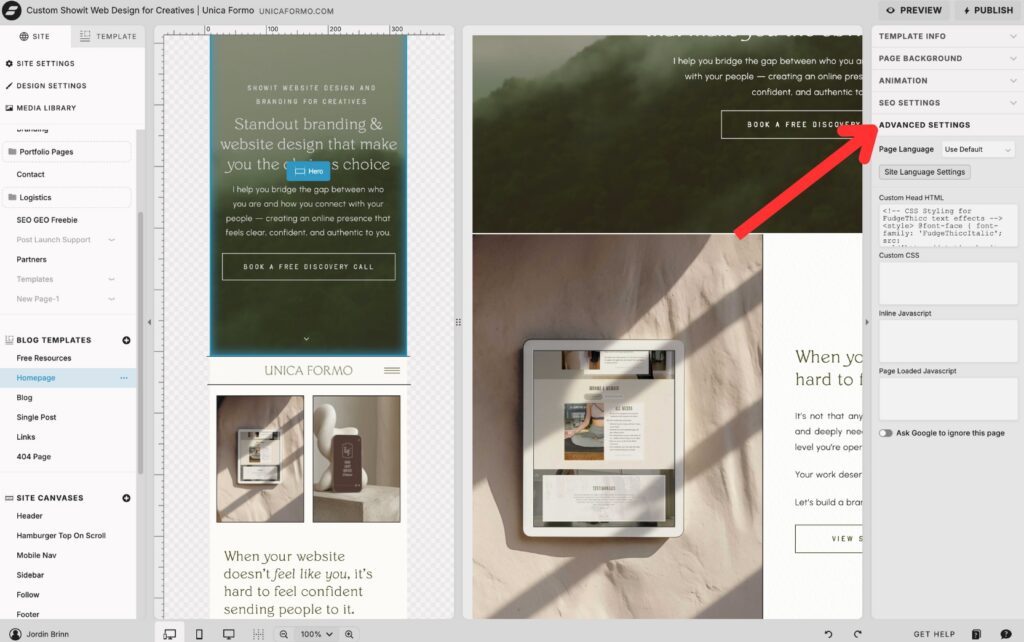
In Showit:
- Open your site design
- Click on your Home Page
- Open Page Settings
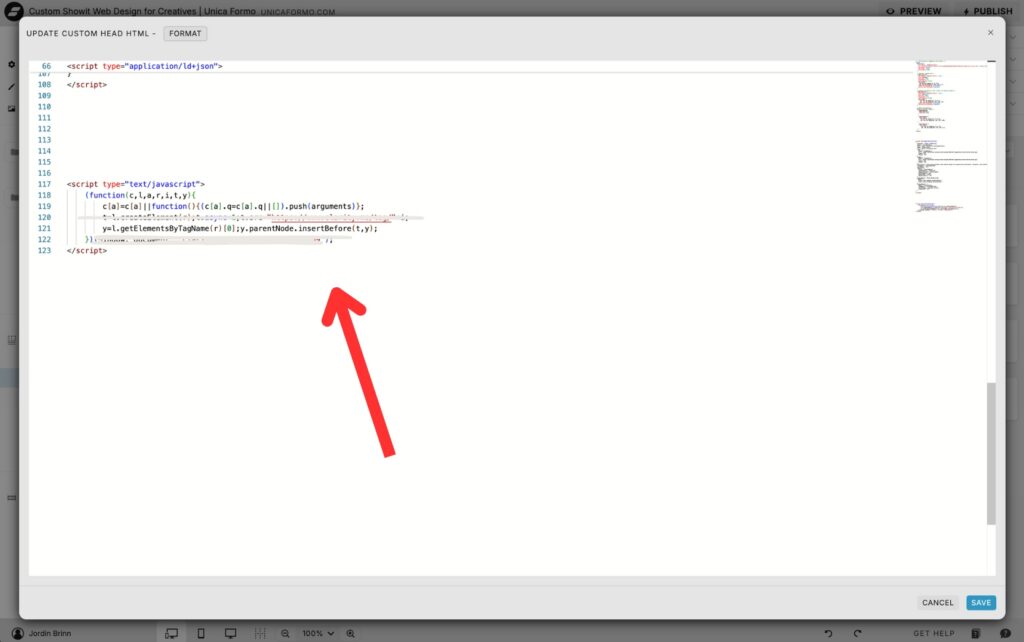
- Go to the Advanced tab
- Paste the tracking code into the Head HTML section
Step 4: Publish Your Site
Click Publish in Showit to make the changes live.
Step 5: Let It Start Tracking
Once your site is published, Clarity will begin collecting data automatically.
You may start seeing data within a few minutes, but it can take a couple of hours to fully populate.
What to Look at First in Clarity
Once data starts coming in, keep it simple.
Start with:
- Scroll maps → Are people reaching your important sections?
- Click maps → What’s getting attention (and what’s not)?
- Session recordings → How are people actually moving through your site?
You don’t need to spend hours analyzing—just a quick review will usually surface clear opportunities for improvement.
Common Mistakes to Avoid When Using Heatmaps
Adding a free heatmap to your Showit website is powerful—but only if you use it correctly. Here are a few common mistakes to avoid:
1. Overanalyzing every detail
It’s easy to fall down a rabbit hole watching recordings and second-guessing everything.
Instead, look for patterns. If multiple users are getting stuck in the same place or ignoring the same section, that’s your signal to make a change.
2. Making changes too quickly
Don’t redesign your entire site after watching one or two session recordings.
Give your data a little time to build, then make small, intentional updates based on consistent behavior.
3. Ignoring scroll depth
One of the biggest insights from a free heatmap on your Showit website is how far people actually scroll.
If users aren’t reaching key sections (like your offer or call-to-action), the issue may not be your content—it may be placement.
4. Focusing only on clicks
Clicks are helpful, but they don’t tell the whole story.
Use Microsoft Clarity to also review:
- Scroll maps
- Rage clicks (when users repeatedly click out of frustration)
- Session recordings
This gives you a more complete picture of user behavior.
5. Not taking action on what you learn
This is the biggest one.
A free heatmap for your Showit website only works if you actually use the insights. Even small tweaks—like moving a button higher on the page or simplifying a section—can make a big difference.
Final Thoughts
If you’ve only been relying on traditional analytics, adding Microsoft Clarity is a game changer.
It gives you a completely different perspective on how your website is functioning—so you can make better decisions about your layout, messaging, and calls to action.
And the best part? It’s free and takes less than 10 minutes to set up.
Frequently Asked Questions
Is Microsoft Clarity really free?
Yes, Microsoft Clarity is completely free to use. There are no hidden fees, and you get access to heatmaps, click tracking, and session recordings at no cost.
Will adding a heatmap slow down my Showit website?
In most cases, no. Clarity is lightweight and designed to run in the background without noticeably impacting your site speed.
Do I need to install this on every page?
No. When you add the tracking code to your site settings in Showit, it will track across your entire website automatically.
How long does it take to see data?
You can start seeing data within a few minutes, but it may take a couple of hours for heatmaps and recordings to fully populate.
What should I look at first?
Start simple:
-Scroll maps to see how far users are getting
-Click maps to see what’s getting attention
-Session recordings to watch real behavior
You’ll usually spot improvement opportunities right away.
Pin for Later:

Jordin Brinn is the founder and lead designer of Unica Formo — a creative studio in Columbus, Ohio, specializing in custom Showit website design and brand strategy for service-based businesses like coaches, consultants, therapists, creatives, and wellness professionals. With over a decade of business experience, she helps clients bring strategy, clarity, and personality to their online presence.
Explore design services and free resources at unicaformo.com.


